|
Many of our beloved students from around the world contact us every day about the different techniques, supplies and instructional materials. As you know here at Brandon Thomas Art we have a great library of videos, helpful tips along with many groups where you can find help and our professional artist materials. When folks have questions we usually send folks over to a one of Brandon's videos or Brandon will answer the question himself on the phone or email. Brandon wants everyone who contacts Brandon Thomas Art to get the right information and no jazz in the middle. Brandon is a professional artist, author, and instructor. Brandon has real information that will take anyone from beginner to a wet-on-wet painting master! Brandon and the Brandon Thomas Art team is fully committed to YOU even if you buy nothing from us! why? because we're here to teach YOU what YOU want to learn. We're not here for the money and that's the biggest reason we are attacked daily from almost every company who sells wet-on-wet painting supplies because we're here for YOU not your wallet and that's what we've been doing since 2008 and that will never change! Now like we said we get thousands of students contacting us every day and unfortunately they have been bitten by the marketer monster!!! they call or write that "my mountains aren't breaking" "my painting is muddy" "my highlights won't stick" "why is my medium so oily" etc....... We get so many of these question. why? because the marketer monster is spreading wrong information along with designing supplies for people to use. Now that seems very odd, right? why is this person writing information and creating materials when he has no clue about the medium or the technique? That's like going to the dentist who has no teeth! So why are people taking his information and running with it? that's because he works for a company who use to be very respected in the wet-on-wet painting world and they call him a master artist or... he calls himself a master artist and at the same time tells these same folks that YouTube is the worst place to learn and YouTube artist will waste your time. Unfortunately for him, YouTube is the best place to learn and it cost you nothing! You get more information faster and from many different people and with one click of the mouse! You can learn to paint from thousands of different great artist or learn to cook, work on your car and so many other things from many people who have real world experience. So why would someone NOT go to YouTube and why would he say such nasty things about YouTube and painting shows on YouTube? because he wants you to spend thousands of dollars on his memberships, DVDs, and supplies. He could care less if you actually was able to paint a blue sky, he just wants your hard earned money. We warn folks to stay away from that negative marketer monster because he will bite and when he does you and your wallet will feel it! So join the millions of people getting the right information the first time without the negative drama of a marketer worrying about his next dollar! We hope you contact us today and start learning from a real artist!
2 Comments
So this question keeps coming up. " Do you want to become the best artist you can be?" or the phrase "becoming the best" what does this question and phrase mean to you? As I read these articles from another company, I can clearly see they are trying run a smear campaign. Trying to degrade other artist and instructors, some that has come right out of their own company. All for that "almighty" buck! Trying to push a "membership" or "art" course, that can cost you hundreds if not thousands of dollars the time you pay for the program, supplies and what other items they can push on you, before you even get ANY instructional materials. They call YouTube artist "amateurs" and "rookies" they even go on to talk down to folks that are in Facebook painting groups and again the word "amateurs" come up. Here is a quote from there article.
"It is interesting to see how many different painting groups are on Facebook. What is even more interesting is that the same people sign up for many groups. They seem to spend more time poking around when they could be painting. Amateurs make up most of these groups. Those groups aren’t a source of advice. Most groups just post pleasant pictures. Comments like “Wow!”, “Impressive!”, and “Awesome!” don’t help you learn to paint!" Now the person writing these articles isn't even an artist. He is simply a "marketeer" (marketer)so what is a "marketeer" well according to merriam-webster.com a marketeer is-
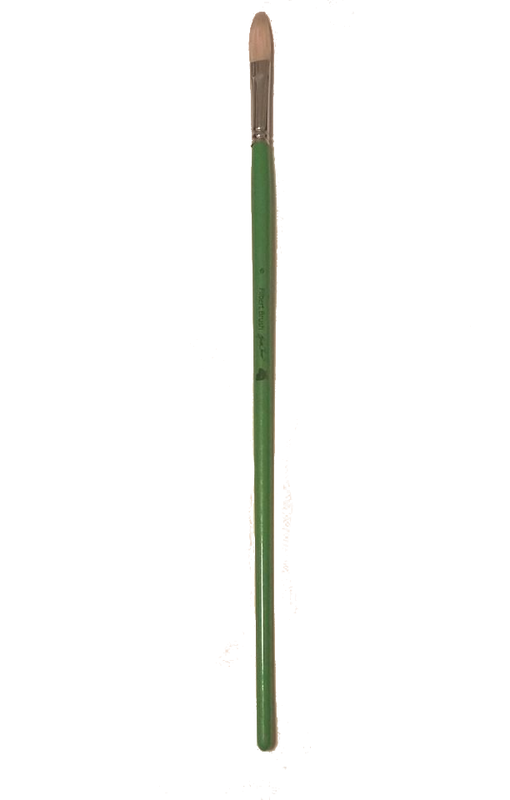
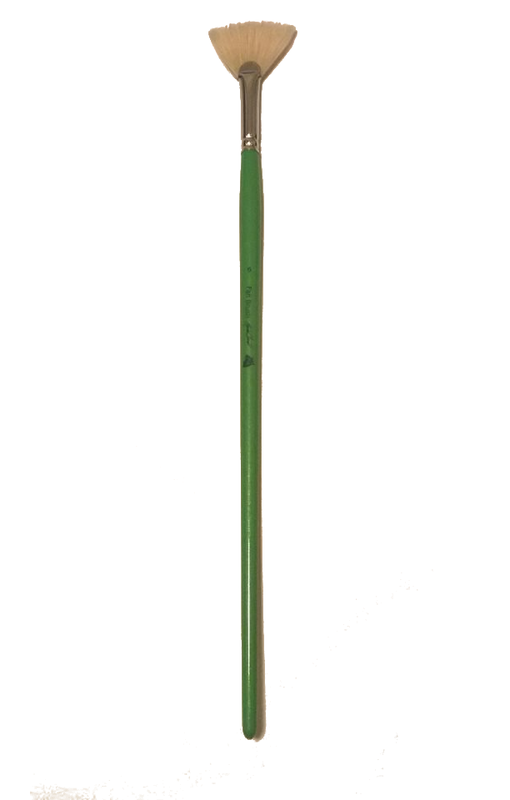
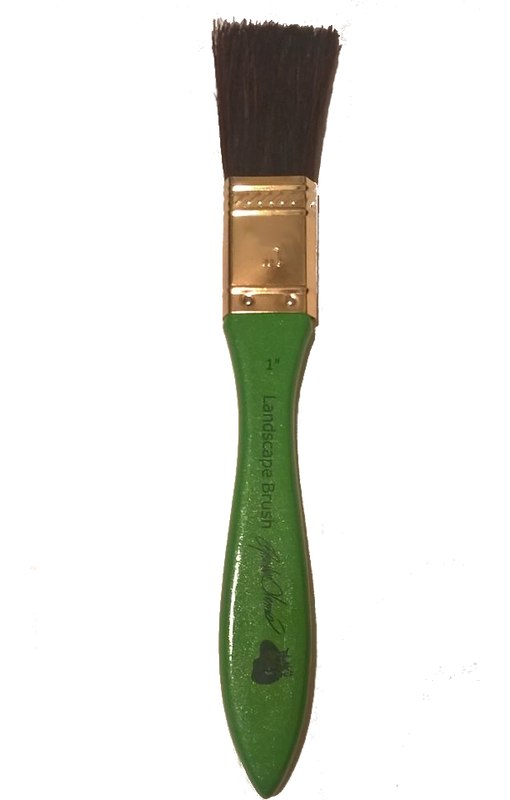
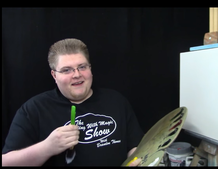 Brandon Thomas Seascape Workshop Hey everyone! today I want to talk about my workshop coming up on August 27th from 11 am - 4 pm this workshop is an advanced seascape workshop. In this workshop I will teach you how to take a simple foam pattern you already know and turn it into a more realistic foam pattern. I will also show you advanced techniques in laying in your waves and crashing on rocks. And how to layer your sky without making mud! This is an advanced class but anyone can join. The supplies you will need are simple a 11 x 14 canvas . The reason I am using this size of canvas. Is so I can teach a more advanced painting in a shorter amount of time. This way you will learn more techniques without rushing to finish . You will also need a tabletop easel. I recommend a tabletop easel with a canvas mount on top. This way when you leave the workshop your painting wont get damaged in your travels back home. All other supplies will be in the classroom for you to use! The workshop will be a great time and I can't wait to get back in the classroom and meet many of you! I hope you signup for the workshop I know you wont regret it! - Brandon T! In the video above is a clip from my latest episode of Painting With Magic. In the clip above I show how to create some simple background mountains (Appalachian mountains) This is a great way to add depth to any painting. Maybe your painting a barn or cabin painting. This would be a great add on to your background to give more depth and make it look more like its in the woods of the country side in Kentucky. Or maybe some large hills. This simple technique will give you more tricks up your sleeve when your creating your next masterpiece. So you can use a few tools. Above are a few photos of the brushes I usually use when I'm creating background mountains. I also included the links so you can pick up the right brush for you! Loading the brushes are about the same way. You want to load them to a crunched brush if you want more texture, or a chiseled edge when you want more sharp angles. So if you want background mountains like in the clip above you want to tape the brush in the paint to give it texture ( crunched brush ) or to get sharp edges load it on both sides and pull through the paint to give it a chiseled edge and then pull it down to paint the trees.
I hope this little blog helped you create some easy background effects! Until the next time! god bless! -Brandon T! In today's blog, I want to go over a question I get a lot and that's how to paint simple snow. I took a clip from one of my shows showing how to paint the simple and easy way to lay down snow, so you can add trees on top or a cabin or tall grasses etc... First to get started you need to paint in a dark base that can be a dark blue or black. In the video clip I covered the whole canvas in Black Canvas Seal ©.
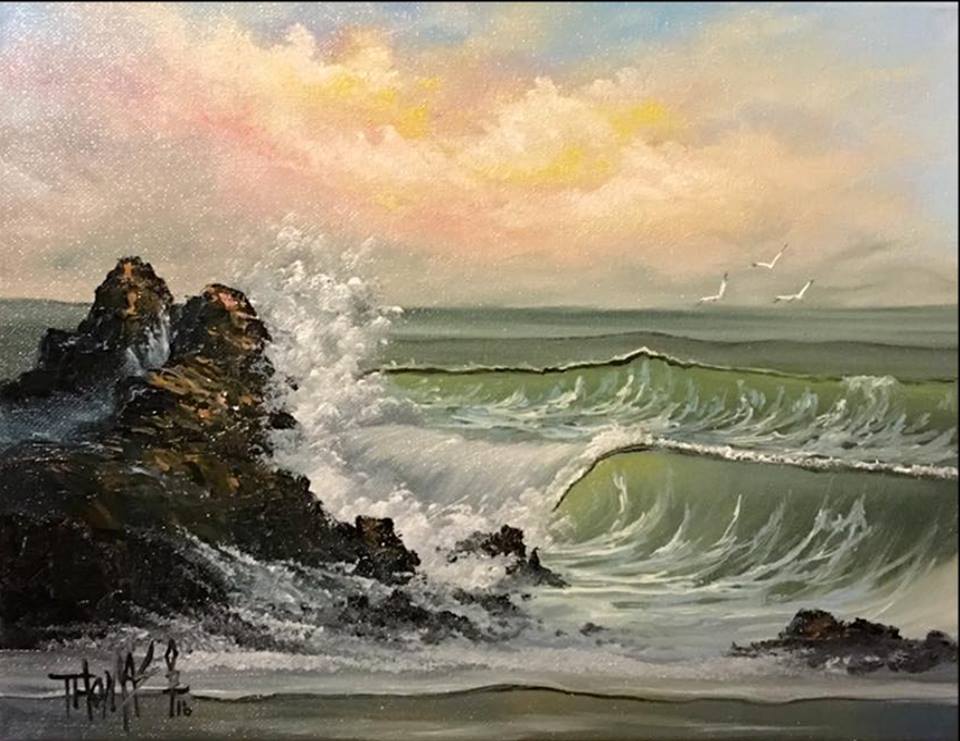
This gave me my dark base so I can show the nice white snow on top. Because you need dark to show light. Next I used my 1" Landscape brushes. Then I loaded it in Titanium White to a chiseled edge, and just pulled in my snow. This technique will give you a nice soft snow. If you want a textured snow use your palette knife and load a roll of paint on it and then break it on top of the dark base. In today's blog I want to go over creating simple ocean foam. Many struggle when it comes to seascapes,some say its the hardest to learn and I would agree. But with these simple steps I hope to make this easier for you! When studying foam I noticed that it has pockets and it looks like a 3 so I started to paint my foam in a 3 shape and man what the difference. But I started to learn how to get a simple but realistic foam using just a filbert brush. So in the clip above I show just how easy it is. But I want to go over it a little more in the blog. You want to load your brush in a even mixture in 50% Titanium white and Amazing White © and loading the brush by pushing it in the paint and creating a roll of paint on the edge of the brush. And using that edge to create my simple foam by following the angle of the wave. moving up and down creating pockets. And keeping the 3 shape in mind. This simple little tip should help you with your foam.
Painting large clouds.
In today's blog I want to go over how to paint the easiest clouds when starting out. I get many questions everyday about how to paint cloud. So I thought I would start off with the easiest way first. In the video above is a clip where I show this easy method. All you need is a 2" Landscape brush. or a 1" Landscape brush. And use one corner to tap into some Titanium White. Remember when painting leaf trees blog? when we just tapped the brush into the paint and could see all the little bushes in the paint on the palette? This is the same technique! After loading your brush go tot he canvas and think of a basic cloud shape. And then just tap it on, using one corner. After painting your cloud take a clean 1" landscape brush and blend out the base, then fluff it up using a soft upward motion. You can use the Hake brush for this to make it really soft and its a lot easier to use. Need your painting to have more distance? or maybe you need to cover something up? In this blog I want to go over how to paint a basic dead tree or a tree without leaves. OK so in the clip above You can see how I painted the large tree but I want to over more in the blog. You need to use a dark color if its in the foreground lighter color if its in the background. But we are focused on the big large tree like the one in the video. If you haven't used the palette knife very much or just want more control I recommend using the #6 Filbert Brush. Load it in a dark color black will work. And then make a large tree trunk slightly smaller on the top and larger at the base give it a little curve as you go, this will give it character and make that happy buck! Next you will need to add a highlight to the tree. Mix up a gray brown color then load a roll on the knife. Now on the outer edge of the tree trunk ( where ever your light is coming from ) And tap the knife and move up and down and then to the middle of the tree. This will allow it to blend back to the shadow. Next make a lighter color ( just add more white to the gray mixture ) Then tap right where you want the light to strike. *** TIP*** Only touch the color do not over work it! Next thin down the black with some Amazing Clear medium With a #2 script liner brush. To a sharp point by spinning into the paint. Next add your limbs. You can shake your hand or pull put some limbs. Check out the video above. If you want to do this for the distance just use lighter colors.
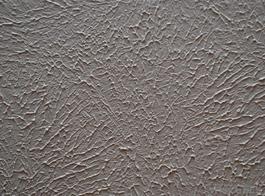
In a post we made a week ago we made a blog about highlighting bushes. So how do you highlight leaf trees? This technique can be used to highlight bushes and is just about the way I paint my bushes 80% of the time, because I just love the way it looks. So lets get started! In this small clip you can see how I layout the highlights by taping on the leaves. But how do you load the brush? You want to load the brush in the highlight color you choose, but load it into a crunched brush which is by just taping or crunching the brush into the paint. Your paint should be thinned down with a touch of Amazing White medium to make the paint creamy. You should see little bushes in the paint when your highlighting or a little pull. This is how you know your brush is loaded right here is little photo of a textured ceiling. And this is something common in most houses. So take a look up. That's what your paint should look like on your palette. Here is a little photo of a textured ceiling.
Need to add a cabin to your landscape? In this blog I want to go over with you the basics of laying out your cabin or even a barn! The first problems I see when folks paint cabins is the roof. They make the roof even all the way across or they have the front uneven. So what is the easiest way to layout a basic cabin. First I recommend to draw a basic cabin shape on paper. Do this as many times as you like until you feel comfortable with the shape you make. **TIP** When drawing out your cabin make the front top of the roof a little higher than the back end. This will give it distance. OK now that you have made about 100 cabin sketches on some paper do the same on the painting. Take your #10 Magic Palette Knife and use just the tip of the blade the same way you used the pencil or pen when you was sketching it on paper. After you get the cabin sketch in now you can scratch out the inside. Doing this will remove extra paint that can cause you problems. Feel the inside areas with a dark mixture, if your making a woods seen dark brown is best. If its a winter seen a gray dark blue is best. To add highlights to it just add white to the dark color to make a lighter mixture.Next is your roof. Highlighting the roof is different to each. You will need to decide how you want your roof to look . To make a tin roof just make a light gray and add it to your roof. Do you want a shingle roof? feel it with a dark gray color then to make a highlight color just mix white to the dark gray color, then take the small end of your knife and load a roll of the light color you mixed and start at the bottom of the roof and dab down. Do this for each shingle working up. To make a door just load black to the small end of the knife pull down a door you can do this for windows too. *** TIP*** Make sure you make the windows the same height as the door. Watch the clip of Brandon painting a simple cabin. I hope you enjoyed this blog post and tomorrow we will go over another panting tip!!
|
AuthorBrandon Thomas, CategoriesArchives
August 2021
Categories |


 RSS Feed
